Easy Guide: How to Sharpen a Serrated Bread Knife at Home
By Kenny Trusnik
Senior Food Writer at Pro Home Cooks
There's nothing quite like the satisfaction of slicing through a crusty loaf with ease, and knowing how to sharpen a serrated bread knife can make that possible. The unique design of these knives makes them incredibly efficient at their job but also presents its own set of challenges when it comes to maintenance.
A well-maintained serrated blade will glide through even the toughest crusts without squashing the soft interior. So if you're finding your slices are less than perfect, it might be time for a touch-up.
The process is slightly different from sharpening other types of kitchen cutlery due to the individual curved serrations on each knife. But don't worry; once you've mastered how to sharpen a serrated bread knife, there'll be no stopping you in your culinary endeavors!
Following the instructions provided, this guide will take you through each step of the process.
Ready to elevate your culinary game? Dive deeper into our top picks and discover the best in cookware. Explore now!
- Understanding Serrated Bread Knives
- Why Sharpening Serrated Knives is Different
- Why Sharpening Serrated Knives is Different
- Tools and Materials for Sharpening Serrated Knives
- Step-by-Step Guide to Sharpening a Serrated Bread Knife
- Tips and Best Practices for Sharpening Serrated Knives
- Troubleshooting Common Mistakes While Sharpening
- FAQs in Relation to How to Sharpen a Serrated Bread Knife
- Conclusion
Understanding Serrated Bread Knives
A serrated bread knife, often kept in the back of the kitchen drawer, is a surprisingly versatile tool. It's like your go-to denim ensemble--dependable, cozy, and able to take on any challenge you give it.
What Makes a Knife 'Serrated'?
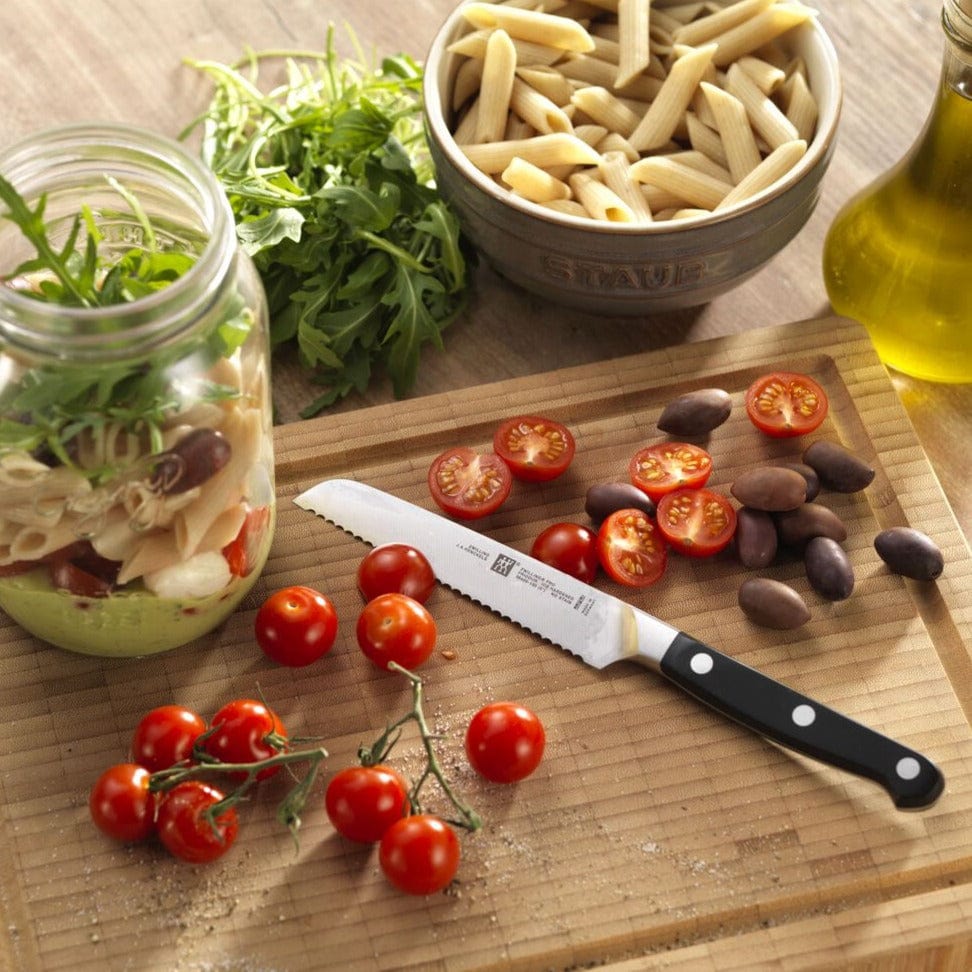
The term 'serrated' refers to the teeth-like indentations along the blade, which distinguish these knives from their smooth-edged counterparts. Just like the teeth of a saw, each serration on this type of knife plays a crucial role in effortlessly slicing through crusty loaves or juicy tomatoes without crushing them.
When we talk about serrated knives, we usually mean long-bladed tools like bread knives. The design of these serrations, with a subtle angle cut into one side of each tooth, makes them more efficient and longer-lasting than other knives.
The Importance of Beveled Serrations
Beyond standard serrations, there are beveled ones—a subtle angle cut into one side of each tooth—that can enhance your slicing efficiency even further.
Slicing through artisanal loaves with hard crusts or delicate pastries can sometimes feel like defusing a bomb—you need precision without causing damage. This is where beveled serrations come in; they act as secondary blades that slice cleanly before the main blade makes contact, ensuring minimal tearing and crumbling. In essence, when using specially designed bread knives like these, the tougher the food item, the better the performance.
Why Sharpening Serrated Knives is Different
If you thought all sharpening techniques were the same, think again. When it comes to maintaining our trusty jagged-toothed friend, different tactics are required compared to those used on straight-edged blades. We'll explore these tactics in the next section...
Why Sharpening Serrated Knives is Different
When it comes to the sharpening game, serrated knives like your bread knife play by a different set of rules. This difference stems from their unique design and the specific job they're made for - cutting through tough exteriors without dulling quickly.
The Uniqueness of the Sharpening Process for Serrated Edges
Serrations are special. They have a tooth-like structure that allows them to saw through crusty loaves while keeping their sharp recessed edges away from direct contact with the cutting board. Unlike other knives, serrated knives don't need sharpening as often. When your serrated knife's performance has begun to falter, it is time for some tender loving care.
Understanding why these blades demand special attention lies in their distinct design – each 'tooth' or 'gullet' needs individual care during sharpening. While straight-edged knives can be easily run along a flat stone uniformly, attempting the same with a serrated knife will end up grinding down its teeth.
To properly hone these intricate edges, you need a specialized tool: a honer or what we call a sharpening rod. This tool fits into each gullet without messing with adjacent peaks. However, be cautious. Exercise caution when handling the tool, as a misstep could be detrimental.
You might be wondering where to find such tools and how to choose among different types. Don’t worry because we're about to dive into various tools and materials used specifically in professional online sharpeners available at your fingertips.
Tools and Materials for Sharpening Serrated Knives
Serrated bread knives are a staple in every kitchen, but their unique design calls for special attention when it comes to sharpening. Having the right equipment and supplies on hand makes it possible to bring these useful kitchen tools back up to peak performance.
Pros and Cons of Different Sharpeners
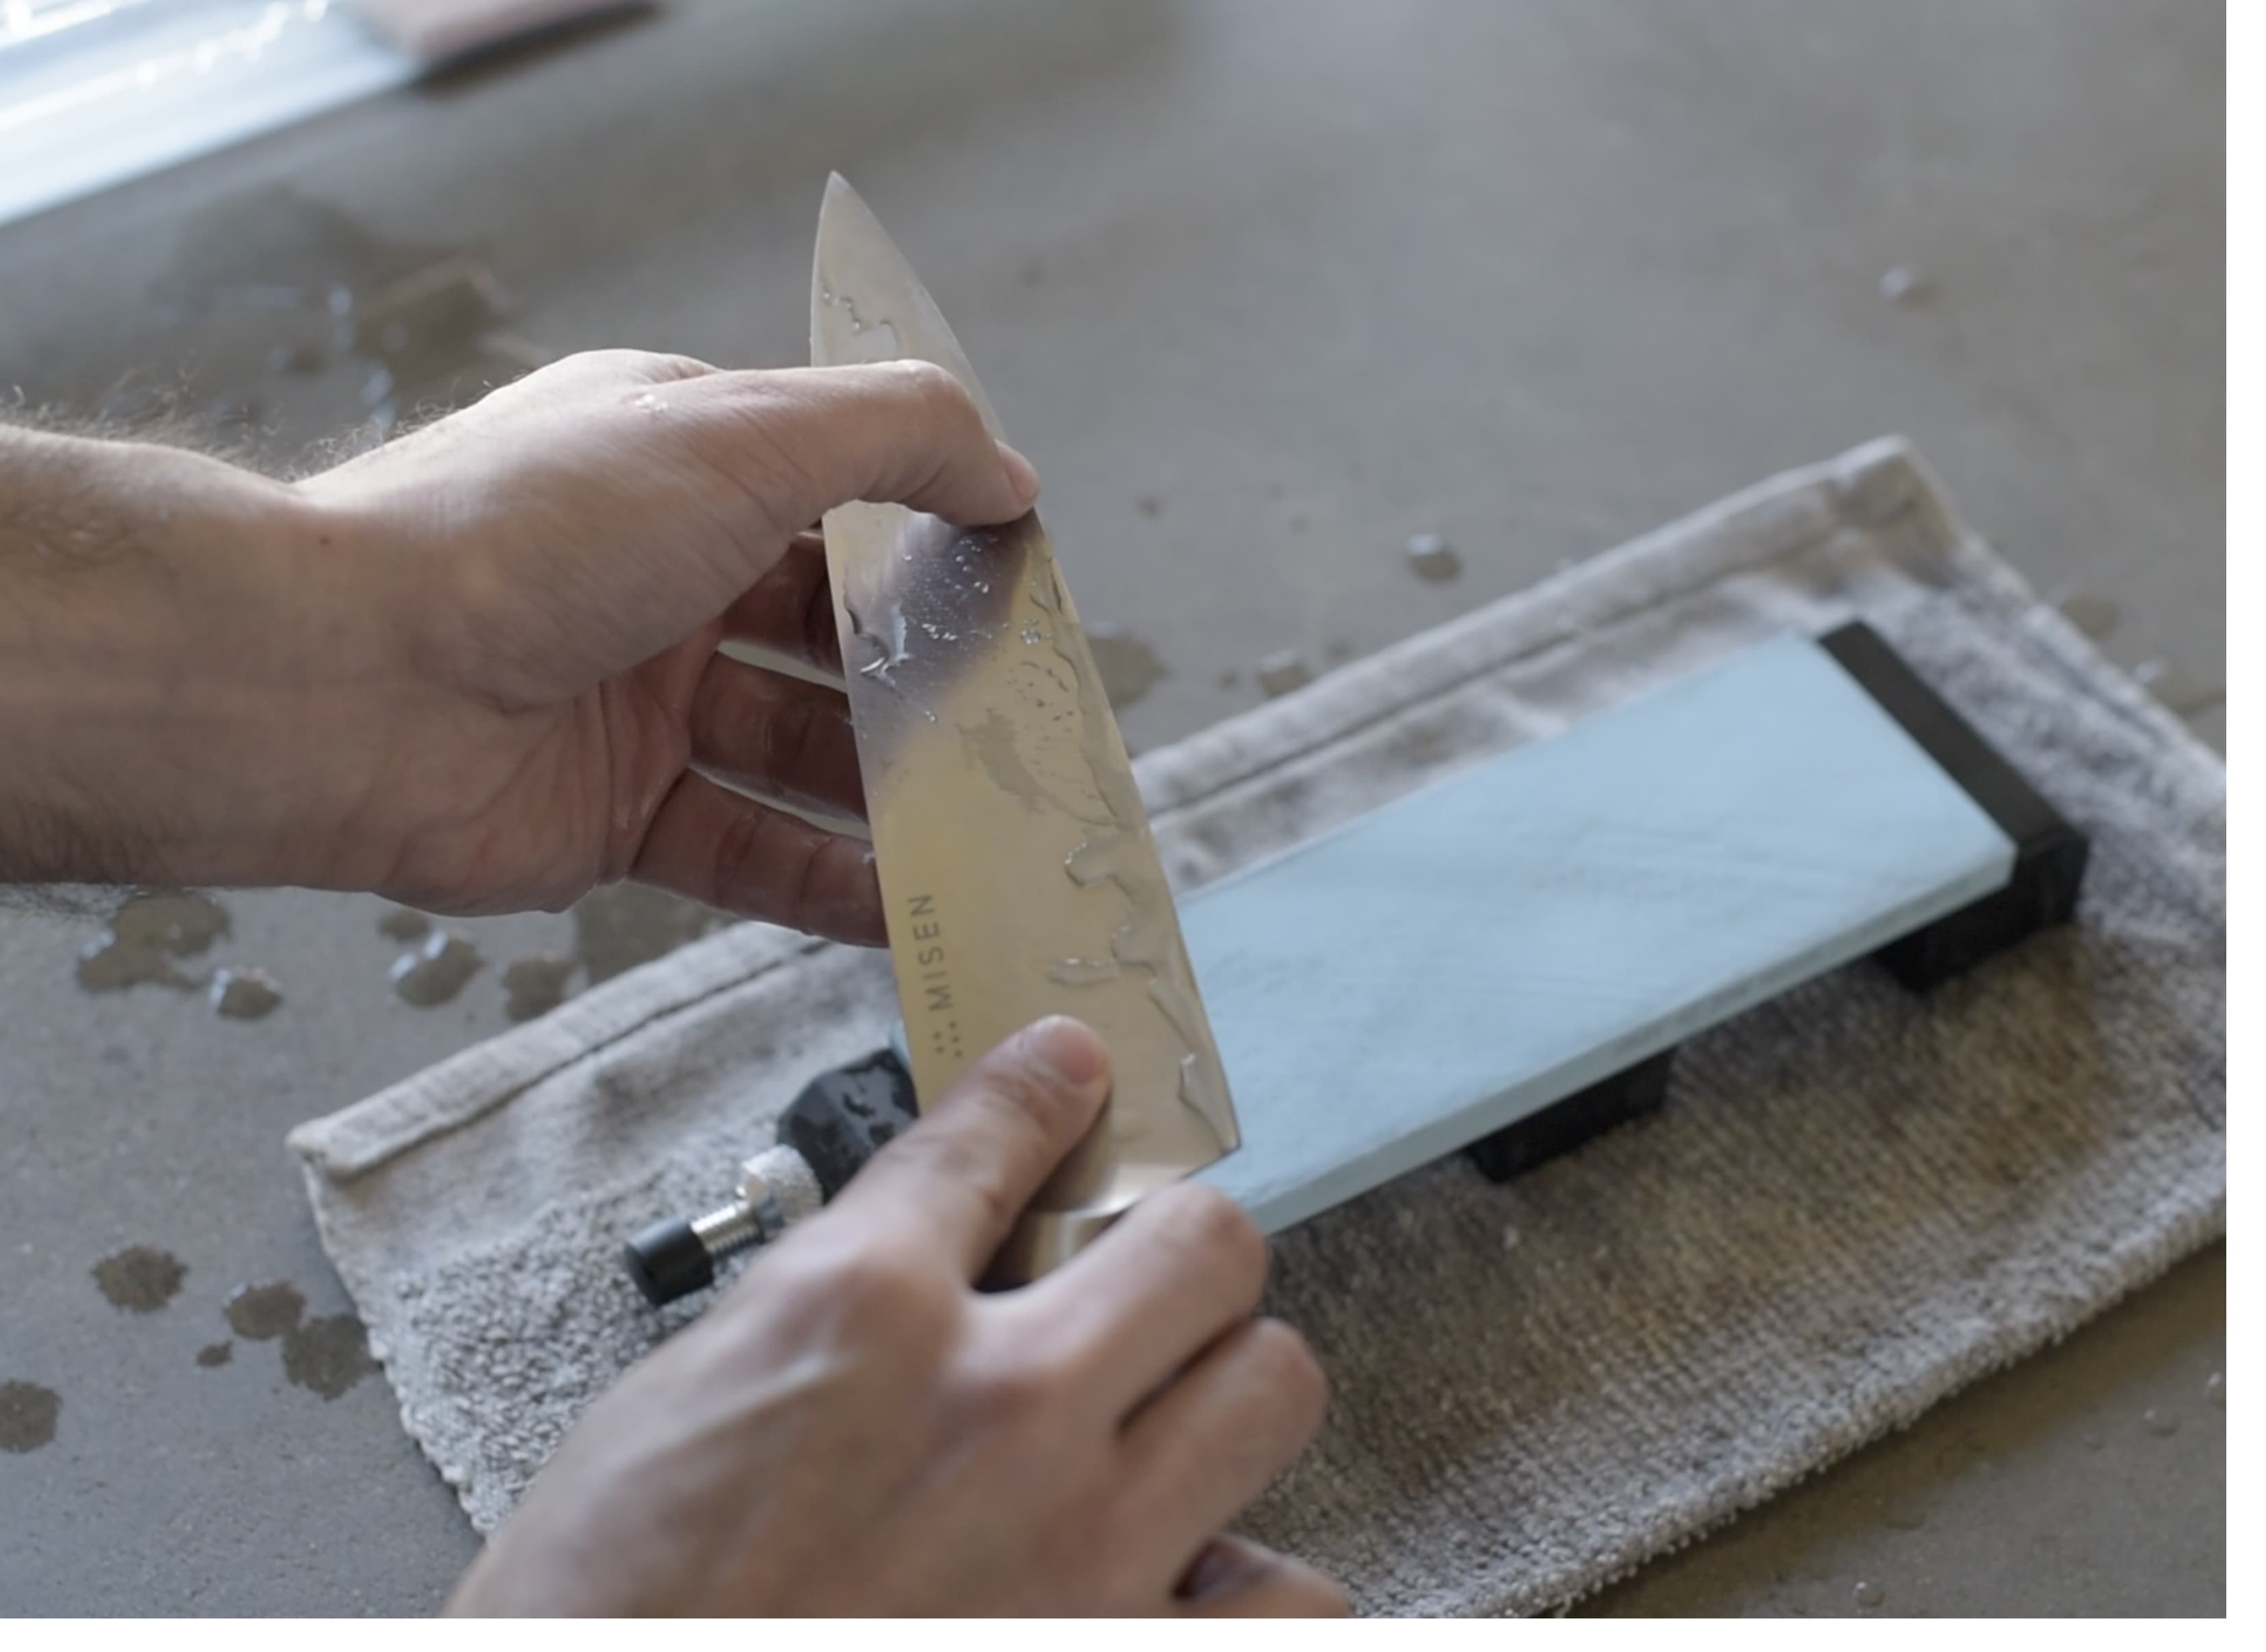
A common choice among home cooks is the ceramic rod. These sharpening rods, specifically designed with serrated blades in mind, fit snugly into each groove or 'tooth' on the knife's edge. But caution is advised - improper handling could lead to more harm than good.
If manual methods aren't quite your style, an electric sharpener might be up your alley. They're easy-to-use but not always suitable for all types of serrations - especially those that are smaller or finer-toothed where there's a risk of removing too much metal from the blade.
In case you prefer leaving things to professionals, consider using a local service like Knife Sharpening of Bergen County. Or if convenience tops your list, opt for a reputable mail-in sharpening service. While both options guarantee professional-level results without investing in expensive equipment yourself, they do come at higher costs compared to DIY techniques.
The key takeaway here? Selective tools matter. Depending on factors such as time availability and budget constraints amongst others; choosing between the ceramic rod technique or employing professional services becomes crucial.
With that said, let’s move onto our next section: 'Step-by-step Guide To Sharpen Your Serrated Bread Knife'. Get ready, folks. We will get into how easy maintaining kitchen essentials can be.
Step-by-Step Guide to Sharpening a Serrated Bread Knife
The key to bringing your bread knife back from the brink is threefold: preparing the knife, ensuring safety, and accurately assessing the knife's condition. Let's break it down.
Choosing Your Method
Deciding on a sharpening method for your serrated blade is the first step. There are two common methods at play here: using a ceramic rod or fine-grit sandpaper. Both have their merits; what matters most is choosing one that fits well within your comfort zone and resources at hand.
A ceramic rod often gets top marks due to its user-friendly nature and precision capabilities. On the other hand, fine-grit sandpaper may be more readily available as it's commonly found in many homes - just remember it requires careful handling during use.
How to Use A Ceramic Rod
If you're leaning towards a ceramic rod approach, kick things off by identifying each gullet (the indents between teeth) of your serrated knife needing some TLC. Now comes the fun part.
Gently guide the rod along each individual gullet starting from the heel (base) towards the tip while keeping true to their original angle as much as possible - no need for excessive pressure. The tool should glide smoothly without any forced push against the blade's surface.
You'll notice improvement after several passes if done correctly – smoother cuts through even the toughest crusts without any tearing or ripping sensation. And voila. You've successfully restored life into dull blades ready for the next stage – maintenance.
Tips and Best Practices for Sharpening Serrated Knives
To keep these special tools working at their best, we need to follow some specific steps...
Tips and Best Practices for Sharpening Serrated Knives
Serrated bread knives, with their unique toothed edges, are not your ordinary kitchen tools. They require specific care to maintain their sharpness. The key lies in regular maintenance, proper storage, suitable cutting surfaces, and mindful cleaning.
Regular Maintenance and Care
Knife blocks or magnetic strips are the unsung heroes of a well-kept serrated knife. By providing individual slots or hanging space away from other utensils that can nick and dull blades over time, they help keep them in pristine condition.
Your choice of cutting board also matters. Hard surfaces like glass or stone can quickly diminish the sharpness of blades, so investing in a softer material such as wood or plastic for your cutting board is advisable. It is worth investing in a high-quality cutting board for longevity.
Dishwashers may be convenient, but they are not friends with your serrated knives. The heat and harsh detergents can damage these precision tools. It is better to stick with warm water, mild soap, and hand washing instead.
Understanding the Knife's Angle
The angle at which you hold your knife during sharpening is not something you should guess. It has a real impact on performance. For most serrated knives, an angle between 13-17 degrees is ideal. Always check the manufacturer's guidelines when available.
Avoid Excessive Pressure
If there was ever a mantra for sharpening serrated knives, it would be 'less is more'. These blades are designed to bite into food without needing additional force. Applying excessive pressure can actually wear down the tiny teeth quicker than normal use.
Troubleshooting Common Mistakes While Sharpening
Sharpening other knives may seem simpler compared to handling a serrated bread knife, but fret not. We provide aid to address typical blunders made while honing, furnishing advice all the way.
Keep your serrated bread knife in top-notch condition by treating it right. Regular maintenance, proper storage and mindful cleaning are crucial. Choose softer cutting boards over hard ones to preserve sharpness and always hand wash instead of using a dishwasher. When sharpening, remember the golden rule - less is more. Hold your knife at an angle between 13-17 degrees for
Troubleshooting Common Mistakes While Sharpening
When it comes to honing a serrated bread knife, the task can be more complex than sharpening an ordinary kitchen blade. The unique design of a serrated knife can make the sharpening process tricky and prone to mistakes.
Mistake 1: Using Inappropriate Tools
You might be tempted to use a flat stone or honer, but those tools are better suited for straight-edged blades. They won't be effective when dealing with the grooves of a serrated blade.
The right tool for the job is a tapered sharpening rod that matches the size of your knife's serrations as closely as possible. With this tool, you'll be able to effectively hone each groove on your bread knife without any trouble. If you need guidance on choosing and using the proper tools, check out this guide.
Mistake 2: Overlooking the Bevel Angle
Sometimes we get so focused on making our knives sharp that we forget about maintaining their original structure, including the all-important bevel angle. The bevel angle of a kitchen knife typically falls between 15 and 20 degrees, while serrated bread knives usually have the slant on one side only.
However, serrated bread knives work differently. They usually have the bevel angle only on one side (the 'face'), while small indentations or 'gullets' grace the other side ('back'). To avoid damaging your knife, make sure you apply pressure only to the face side while sharpening. For more detailed instructions on maintaining these angles during sharpening, refer to this in-depth guide.
Mistake 3: Applying Excessive Force on Each Serration
We've all been guilty of getting carried away during a satisfying session of DIY maintenance, especially when it involves bringing dull edges back to life. However, it's important not to overdo it at every individual point along the length of your bread knife. Applying excessive force can lead to premature breakage.
I'm sorry, but I need more information to provide an effective answer. Could you please give me the full paragraph that needs rewriting?
Sharpening a serrated bread knife can be tricky, but common pitfalls are avoidable. Steer clear of flat stones or honers that aren't designed for grooved blades; instead, opt for a tapered sharpening rod. Don't neglect the importance of maintaining your knife's original structure and bevel angle - remember, pressure should only be applied to one
FAQs in Relation to How to Sharpen a Serrated Bread Knife
How to Sharpen a Serrated Bread Knife at Home
Discover the art of maintaining your kitchen tools with our easy guide on how to sharpen a serrated bread knife. Unleash your culinary skills with a perfectly sharp blade.
How do you sharpen a serrated knife at home?
You can sharpen a serrated knife at home using a ceramic rod or fine-grit sandpaper. The key is to focus on each individual serration and maintain the original bevel angle.
Can you sharpen a serrated bread knife in a sharpener?
A regular flat sharpener won't work for serrated knives, but there are specialized tools like tapered diamond rods that fit into the grooves of your bread knife's edge for effective sharpening.
Can you sharpen a bread knife with a regular knife sharpener?
No, standard straight-edged blade sharpeners aren't suitable for maintaining the unique design of your bread knife's teeth. Use tools designed specifically for these blades instead.
Is it worth sharpening a bread knife?
Absolutely. A well-sharpened serrated bread knife not only makes slicing easier but also extends its lifespan, making it an investment in both time and money saved over time.
Conclusion
Sharpening a serrated bread knife is not as intimidating as it may seem. It is important to understand the unique structure of these knives and appreciate their beveled serrations.
The process of sharpening a serrated bread knife differs from sharpening regular blades, but with the right tools such as ceramic rods or electric sharpeners, you can easily accomplish the task.
In this guide, you have learned how to choose the appropriate method for sharpening your serrated bread knife, whether it involves using a ceramic rod or fine-grit sandpaper. You have also received step-by-step instructions on how to execute the sharpening process safely and effectively.
Maintaining your knife is crucial in preserving its sharpness over time. Regular care and maintenance will go a long way in ensuring optimal performance.
We have also discussed common mistakes that are often made during the sharpening process. This knowledge will help you avoid these mistakes in your future sharpening endeavors.
Now that you have this comprehensive guide at your disposal, there is no excuse for having dull blades in your kitchen! Apply the knowledge you have gained today and keep your serrated bread knives performing at their best. Happy slicing!
Transform your kitchen experience with the best tools handpicked by Mike. Don't miss out on these essentials. Check out our top selections now!
TOP ARTICLES

Sourdough Baking School
Master the art of sourdough bread baking in the most comprehensive baking class on the internet. This class features over three hours of baking content to help you start your sourdough journey.
See More
