Japanese Milk Bread
By Alex C
Senior Food Writer at Pro Home Cooks
There are many breads like focaccia and baguette that are made 100x better by using a starter as a leavening agent but when it comes to white breads, they’re actually better with instant yeast. They come out pillowy, almost feathery soft with a tight crumb and a tender crust. My favorite white bread of all time is Japanese milk bread. It contains more milk and butter than your typical store bought white bread leaving it with better flavor, texture and longer shelf life. It is ever so slightly sweet and although there is no tangzhong in this recipe I can promise you that it will still be the most insanely addictive milk bread you will have ever made.

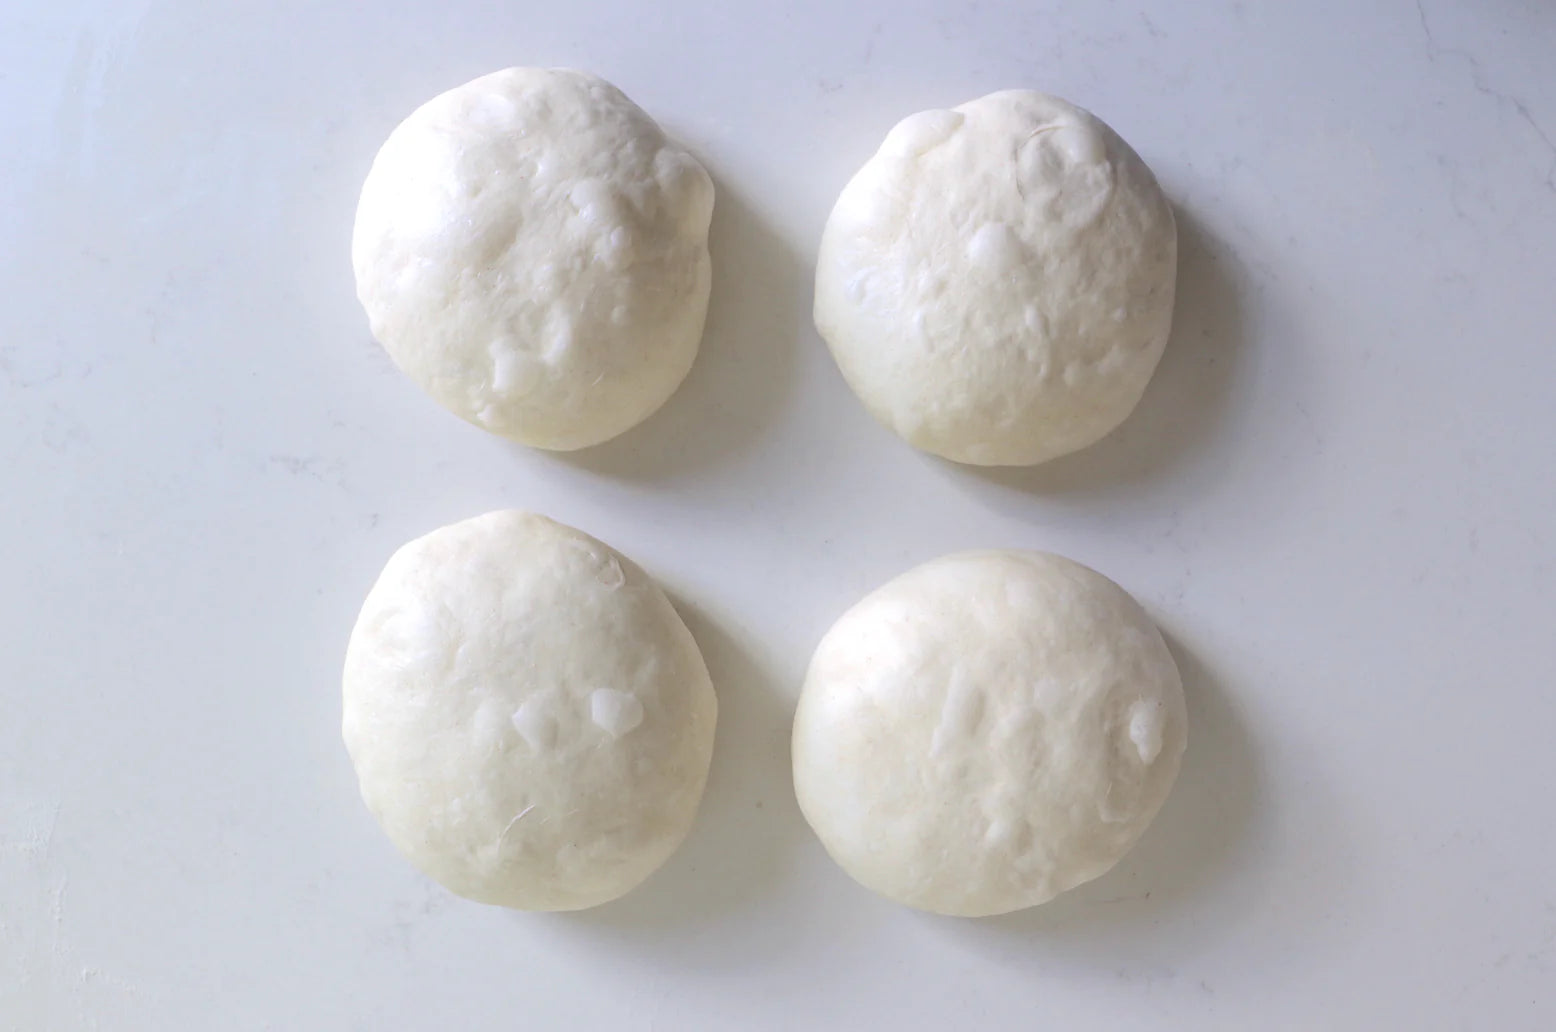
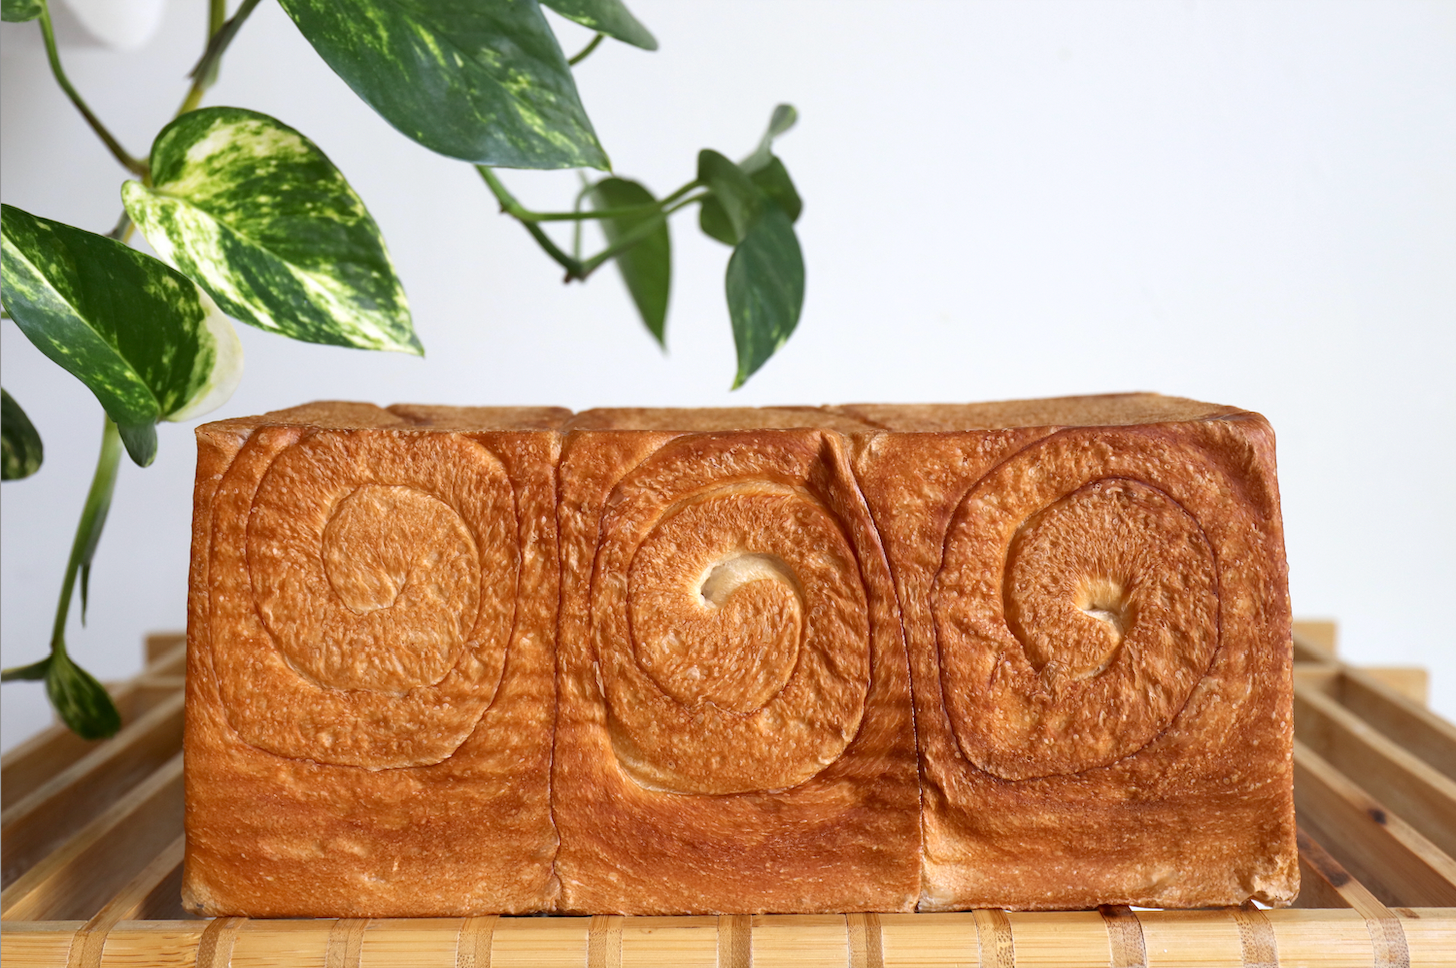
I have made this recipe countless times over the past three months and my family and I are in love. I have officially become the milk bread baker in the family and through my many trials I have a few things to tell you before you make your very first milk bread! First, you might notice the three spirals on the side of the milk bread. Although it seems like an easy step to skip, it's actually an important step to ensure that you have an evenly proofed loaf. Scaling them, dividing them into three, and rolling them so they all have a leveled top ensures that your final loaf will proof and bake evenly. Nobody wants their bread to be under/over proofed or lopsided!

Speaking of proofing, in order to get the perfectly square shape the bread's final proof will be in a pullman loaf pan. It is a regular loaf pan but with a sliding top to cover the pan. The one I use is 9x4x4 and will yield 12 - 14 slices depending on how thick it is. The bread must rise 85-90% of the way to the top, almost to the point where you can’t slide open the loaf pan anymore. This will ensure that you will have a light, fluffy and perfectly square bread. In my many tests, I have found that the final proof can take anywhere between 2 - 8 hours. During the warmer weather it will rise quicker but in colder weather I have even left it overnight and baked it fresh when I woke up. Keep an eye on it during the first two hours of proofing and you'll be able to assess how quickly it is rising by then.

The first couple of times I made this milk bread, I didn't have any leftovers. I was making milk bread every day so that we would have bread for our morning sandwiches but after a few days, I was able to better test out its shelf life. After 3 - 4 days the bread will still be soft but definitely drier so I stick it in the fridge and toast it to give it life anytime I want some bread. In the fridge it will last an additional 7 - 10 days.
TOP ARTICLES

Sourdough Baking School
Master the art of sourdough bread baking in the most comprehensive baking class on the internet. This class features over three hours of baking content to help you start your sourdough journey.
See More


