Let’s Go On A Buttery Flakey Adventure Together…
By Alex Chung
Senior Food Writer at Pro Home Cooks
The first time I ever made a batch of homemade croissants was back in 2014. It took me three days to make, my layers broke, and I didn’t get that beautiful honeycomb cross section that every French pastry chef strives for. I was disappointed and felt defeated. As much as I wanted to do my part in saving croissants from being a dying art I felt that they just weren’t worth my time or effort. What I failed to realize was that croissants are finicky jerks that will pull your hair and test your patience but most importantly, they are your end goal not your first step.
I don’t know about you but if I made endless amounts of croissants just to make the perfect batch I think I would lose my mind. Instead I decided to focus on the first important part of croissants – the lamination process. It’s where you take a slab of butter and conceal it inside croissant dough then fold it numerous times to create those thin and flakey layers that alternate between dough and butter. Everything else in my mind prior is standard while everything after will be insignificant if the lamination process does not have good structure.
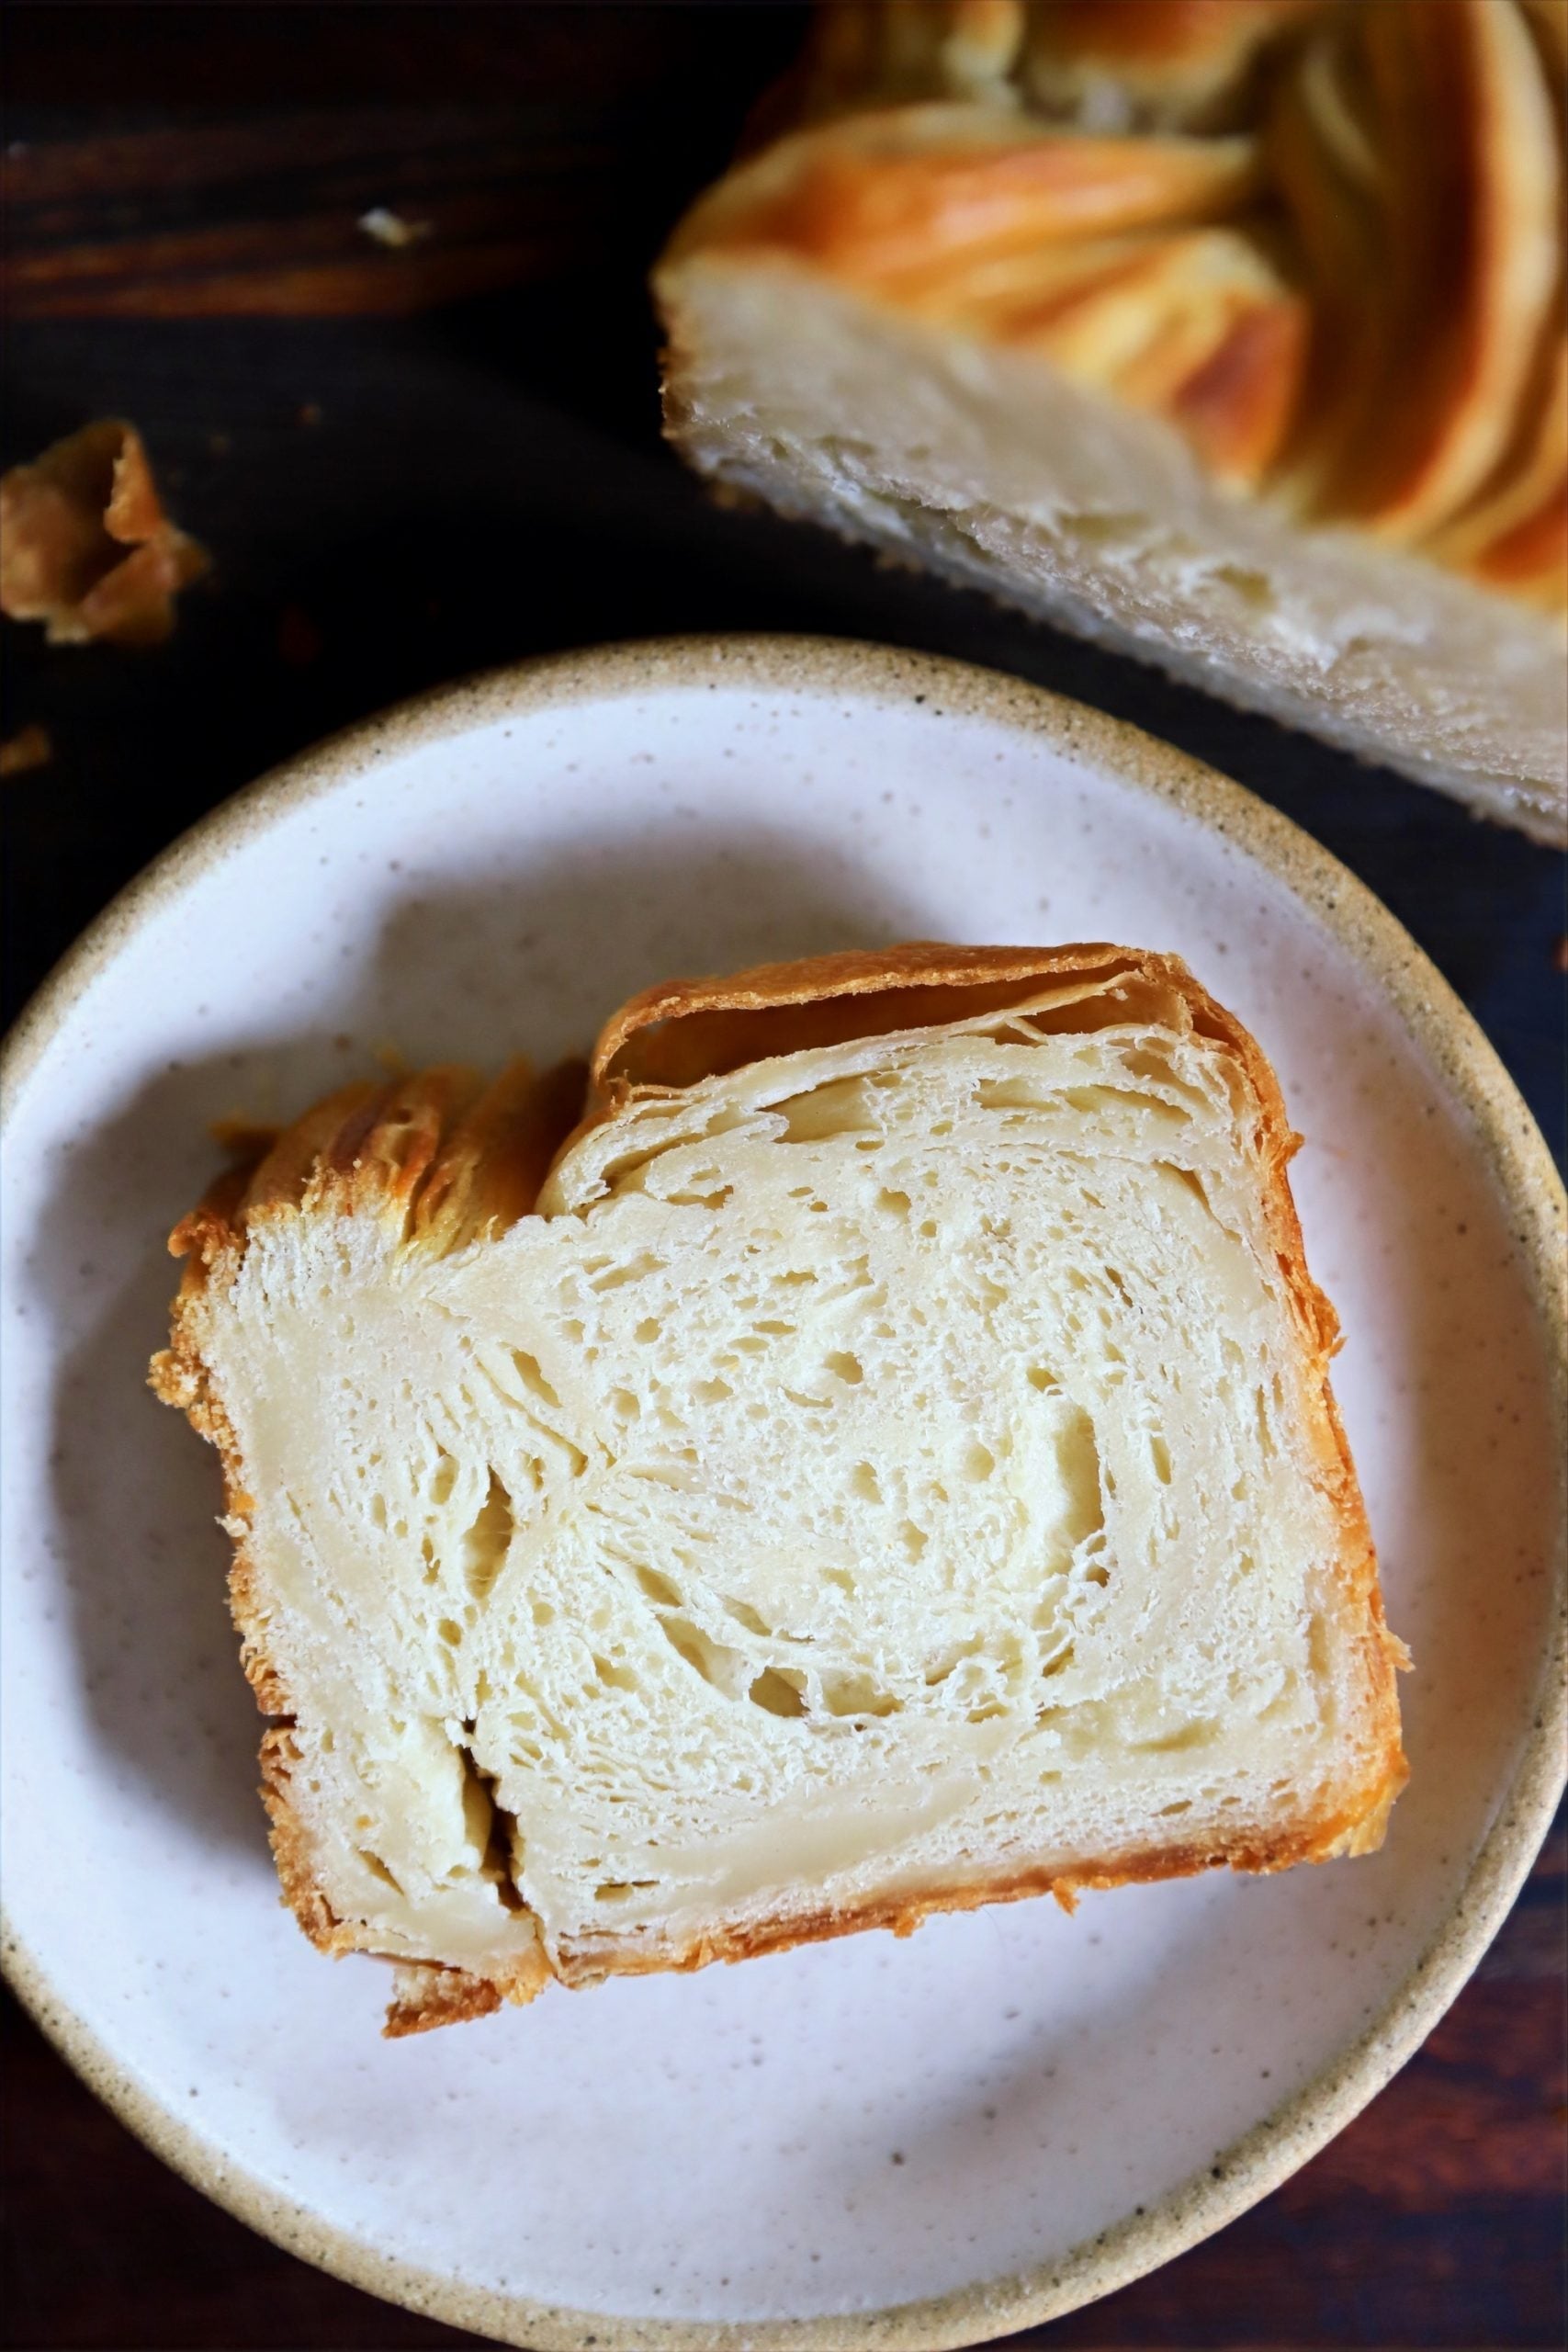
I want you to know that this recipe isn’t for everyone. It’s not my usually recipe and for those who aren’t well versed in working with this amount of butter in the summer heat, I would give this recipe a pass. It can be tricky, the butter can give you a hard time, espically when it leaks out in the oven and starts to smoke up your kitchen. However, once you get it right it is really satisfying and you’re left with a beautiful, buttery, soft on the inside, and caramelized on the outside braided croissant loaf. This recipe was created to help anyone who wants to start their journey of making their “perfect croissant” or for those who want to give croissant making a try. It won’t take 3 days, it doesn’t use cold hard butter, and it won’t make you want to punch every french pastry chef in the face. Instead I hope this recipe will invoke curiosity and determination to get those beautiful flakey layers.
Buttery & Braided Croissant Loaf
This loaf is out of this world insane. It’s got layers on top of layers on top of layers! It’s lightly sweetened, intensely buttery, caramelized on the outside and the perfect vehicle for literally anything. Butter? Of course. Ham and cheese sandwich? Don’t forget the mustard! French toast? Yes, yes, yes, yes!!

Ingredients:
- 1 cup or 8 ounces of whole milk
- 1 teaspoon or 3 grams of instant yeast
- ¼ cup or 50 grams of sugar
- ½ cup or 4 ounces of water
- 1 tablespoon of salt
- 4 1/2-5 cups or 21.25 ounces bread flour
- 5 tablespoons unsalted butter, room temperature
- 2 sticks or 1 cup good quality butter, room temperature
- 1 egg, beaten, for brushing
Instructions:
Making the Dough:
- First, start combining the water, milk, instant yeast, and sugar together in a mixing bowl. Let bloom for 5 minutes.
- Next, add 4 cups of bread flour and salt to a mixing bowl with the dough attachment on. Slowly stream in the water and milk mixture with the setting on medium low speed. If the dough is too sticky add ½ cup more flour and mix in. The dough will be tacky and a little sticky.
- Now, add in 5 tablespoons of butter, one tablespoon at a time until fully incorporated.
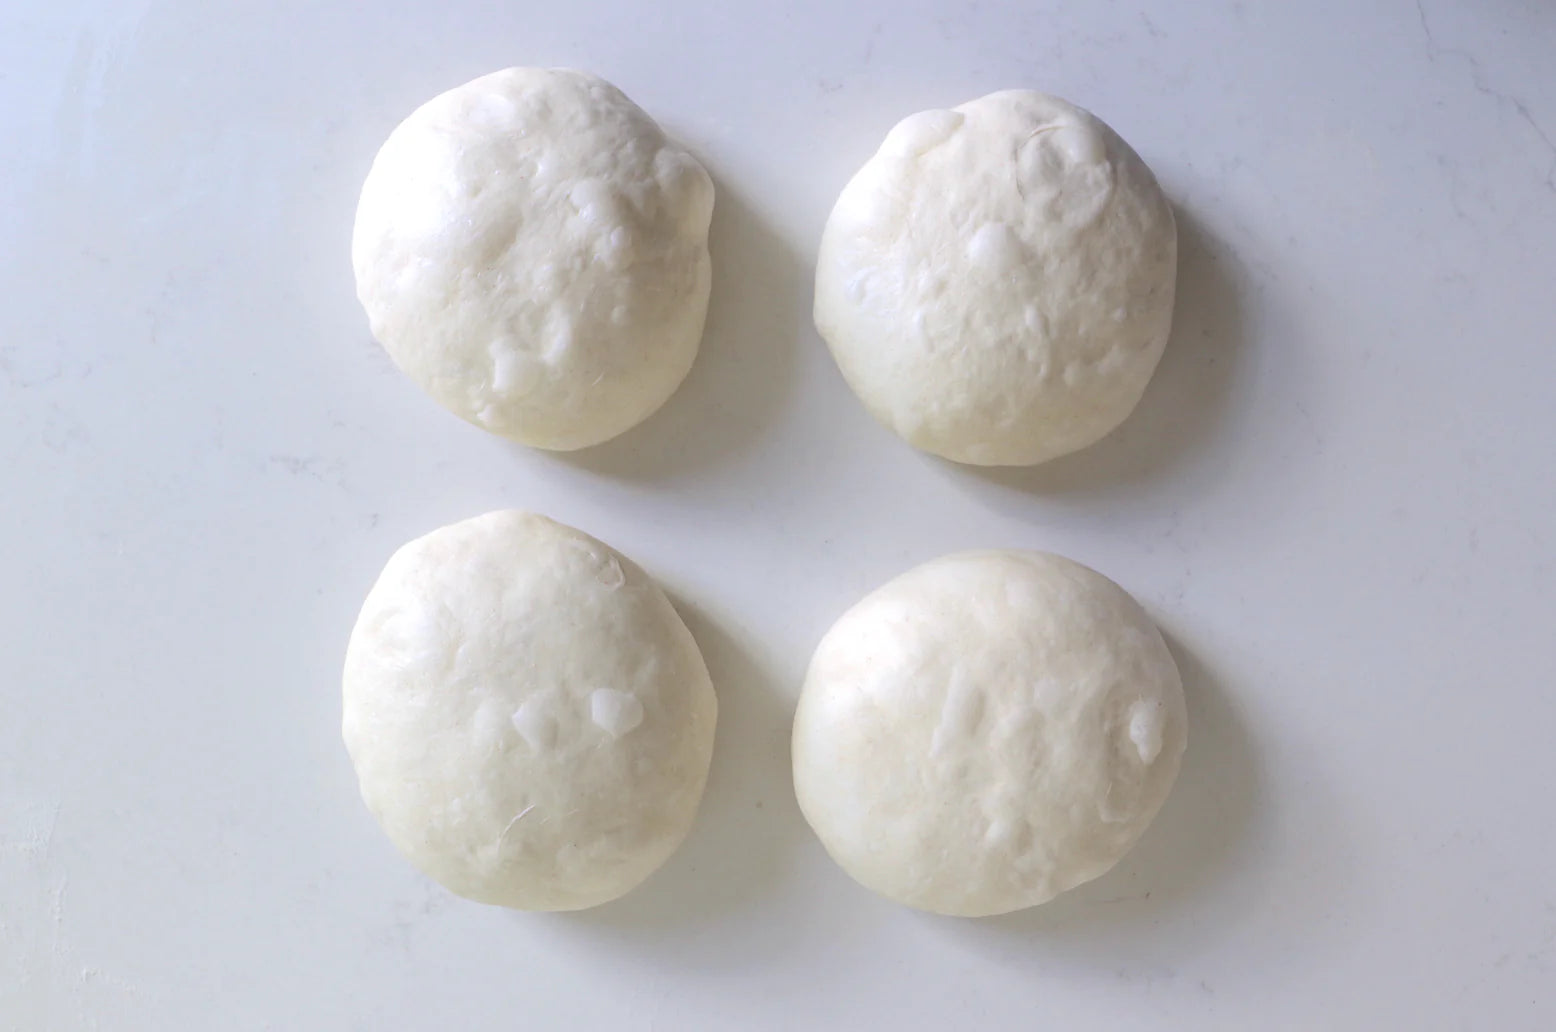
- Take the dough out of the bowl, shape into a ball, and place into an oiled bowl. Cover with plastic wrap and let proof for 1 hour at room temperature or until doubled in size.
Laminating the Dough:

- Onto a lightly floured surface, take the dough out of the bowl and roll out to a 20×15 inch rectangle.
- Cut the two sticks of butter into a thin squares and place right in the center of the rectangle. Fold one side of the dough over and then the other side to fully conceal the butter. Pinch the edges closed and press the dough down to compact the butter and dough together and get rid of any big air pockets.
- Fold the bottom ⅓ of the dough up and then top ⅓ of the dough down. Roll back out to a rough 19 x 15 inch rectangle. Stick in the fridge for 30 minutes.
- If you couldn’t get your rectangle to 19 x 15 inches, now it should be soft enough to roll out.
- Fold in the right ⅓ of your dough to the center and repeat with the left ⅓ of your dough. Then repeat step 3 but roll it out to an 11×8 inch rectangle. Place in the fridge for 30 minutes.
- Take the dough out, cut into four long pieces, and braid into a braid or roll into a log. Grease a 10 x 5 inch loaf pan and place your braided dough in.
- Proof for 1-2 hours or until doubled in size. If your kitchen is hot, let the loaf proof in the fridge! You don’t want the butter in between the layers to soften. You want cold hard butter now.
- 20 minutes before your dough is fully proofed. Preheat your oven to 375 degrees, place a sheet pan inside, and gently brush some egg wash on to the top of the dough. Place your croissant bread onto the sheet pan and bake for 45 minutes or until golden brown and the internal temp reads 190-200 F on a thermometer. Let cool off completely before devouring!

Things to Note:
1. ) Do not use anything smaller than a 10×5 pan! As a beginner, you will run the risk of butter coming out of the loaf, seeping on to your sheet pan or oven floor, and burning and smoking up your oven. If you use anything larger than a 10×5 inch loaf pan just make sure it has high sides and adjust your bake time accordingly. Once you start to see the top of your loaf turn a dark golden brown color that is a good indicator that your loaf is done. The internal temperature should be around 190 – 200 F.
2.) The butter should be room temperature, which means it should be around 72 F. A better way to tell that your butter is at “room temperature” is to press a tablespoon of it. If it breaks in half, it’s too cold. If it falls apart it’s too soft. You should be able to press it and it should leave an indentation of your finger.
3.) When picking up the dough try to use your whole hand instead of just a few fingers. This will help minimize the amount of tears you create. If there is a tear just sprinkle on a little bit of flour to patch it up.
4.) If you can’t roll out the dough to the dimension I gave you, just let the dough rest for 30 minutes as the recipe says and then roll out again before giving the dough its folds.
5.) If your finished proofed dough is too warm, stick it in the fridge for 1 hour so that it can harden. Otherwise the butter will leek out of the dough while it bakes. If it does spill out, just make sure to set a sheet pan down and be prepared for smoke.
TOP ARTICLES

Sourdough Baking School
Master the art of sourdough bread baking in the most comprehensive baking class on the internet. This class features over three hours of baking content to help you start your sourdough journey.
See More


