Let’s Make The Easiest Flavor Bomb Ever
By Alex Chung
Senior Food Writer at Pro Home Cooks
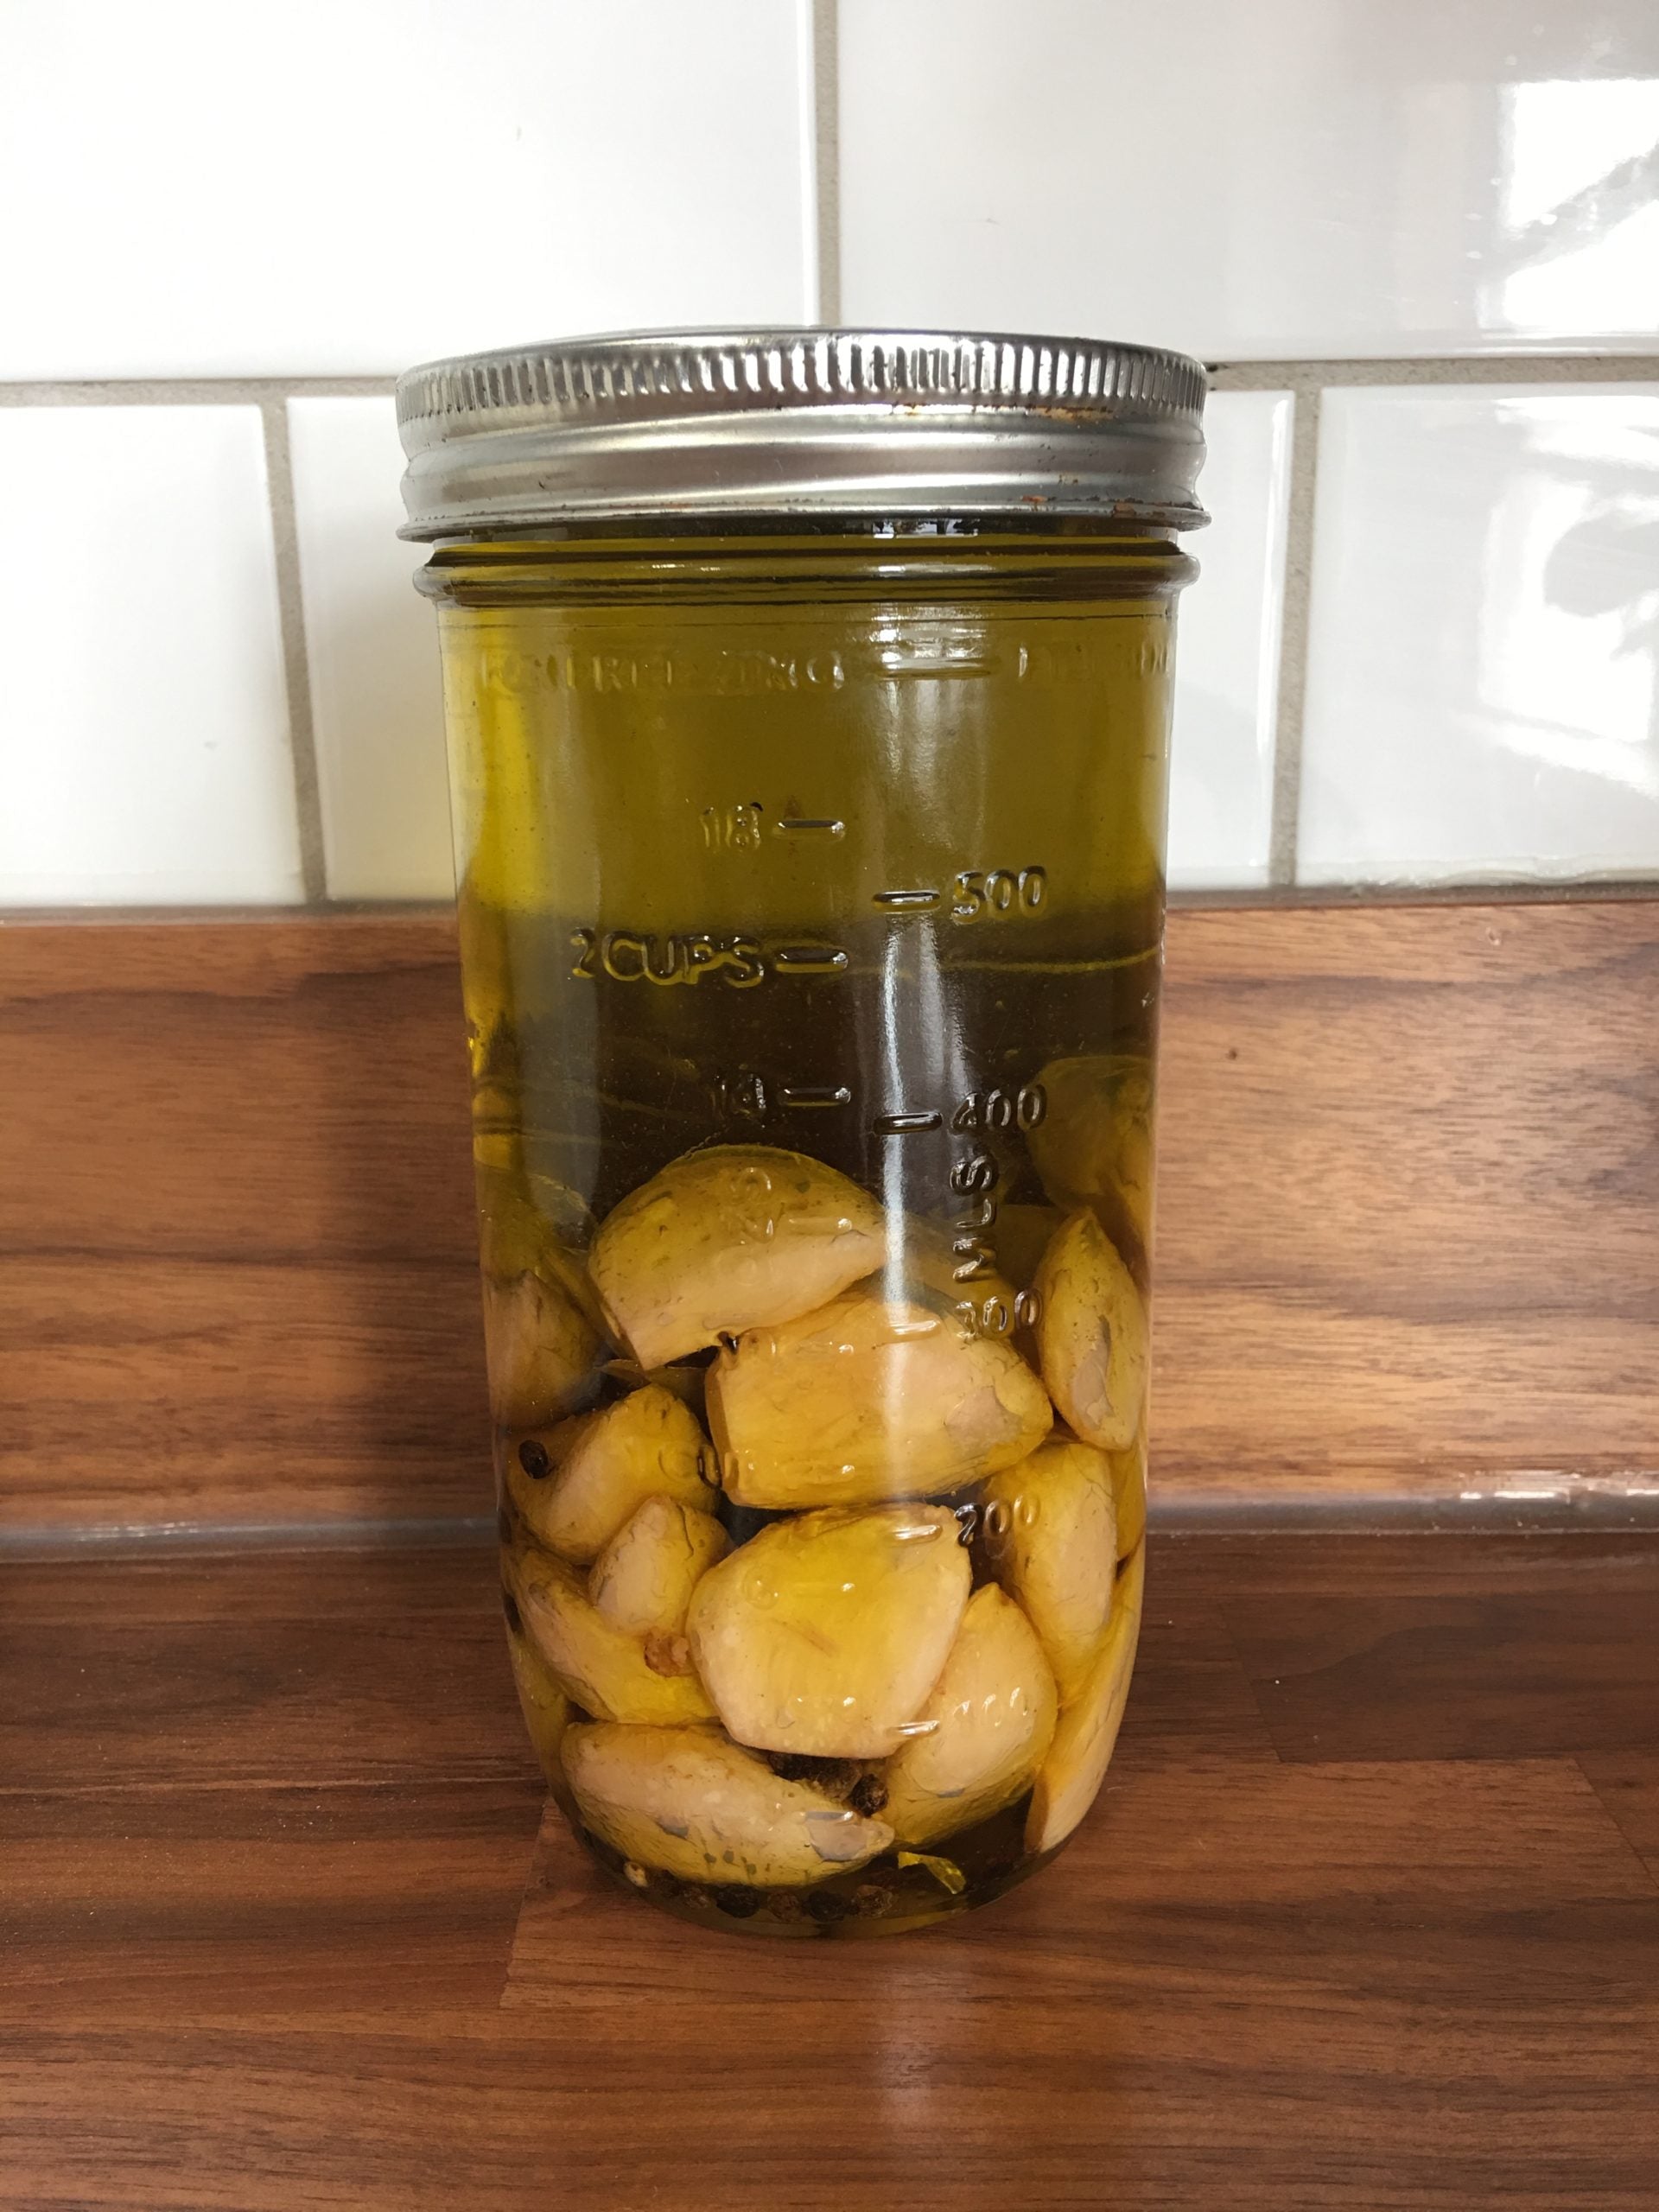
The first time i made garlic confit I thought I would just forget to use it and it would end up in the back of my fridge. When in fact, I ended up finishing it in a couple of months and I needed to make another jar of it. It came to be the first thing I would pull out of my fridge and would inspire me to cook because I loved its garlicky flavor! Its perfect for the Italian meals like pasta, bread, and soups but it also works fantastic for sandwiches, salad, noodle soups, marinades, and finishing off dishes like roasted veggies and even dumplings!
But the best part of having garlic confit on hand is that is already ready to go. You don’t need to sit and wait an hour for it to be done. It’s already done and its sitting in your fridge waiting to be used up. If you’re hungry and need something fast, garlic confit is the best base to start or end with. It will amp up any dish you have and pack it full with garlicky flavor all while making it more unctuous and delicious.
My garlic confit recipe is pretty simple an straightforward but it doesn’t have to be. You can add in any thing you like really like. Want it more spicy? Add some dried chilies. Want is more herby? Try some dried thyme or rosemary.You can even get the cheapest bottle of olive oil you can find at your grocery store or in your pantry and i promise you it will still taste amazing at the end. But whatever olive oil you decided to get or ingredients you decided to put in just be sure to use tons of fresh whole cloves of garlic because it’s the best part!
Homemade Garlic Confit
Once you make your first batch of garlic confit I promise you will make it over and over again. Im already on my second jar and it hasn’t even been 6 months. One of the best things to have as a snack or breakfast is a piece of freshly made sourdough bread with a confined garlic clove smashed right on top. I promise is the best thing ever!!

Ingredient:
- 3 heads of garlic, peeled
- 1 tablespoon of peppercorns
- 1 bay leaf
- 2 cups of olive oil
Instructions:
- Once all your garlic is peeled, make sure that you cut off the woody head since we don’t want to eat that.
- Then add in your garlic, peppercorns, bay leaf and olive oil into a pot. Set the flame to the lowest setting you have and leave it for 3 hours. It should never come up to a boil. It should just produce very small bubbles here and there.
- Once the garlic is super tender and darker in color, shut the heat off and let it cool down before pouring everything into a glass jar. Store in the fridge for no more than 1 week.
* Storing garlic in oil longer than 1 week can develop botulism. Please don’t eat if past a week! Instead use them up by spreading on toast or making these recipe below! *
Super Garlicky Garlic Knots
Garlic knots are so simple to make and so satisfying to eat. Nothing is better than fresh and crispy bread, packed with fresh garlic and tons of cheese. Its so simple to make that you’ll be making them instead of buying them. Plus, they freeze exceptionally well!

Ingredients:
- 2 cups of all purpose flour
- 1 teaspoons of instant yeast
- 1 teaspoon of salt
- 1 cup of water
- 2 cloves of fresh garlic, chopped
- 1 teaspoon of powder garlic
- 4 tablespoon of garlic confit oil
- parmesan cheese, optional
- freshly chopped parsley, optional
Instructions:
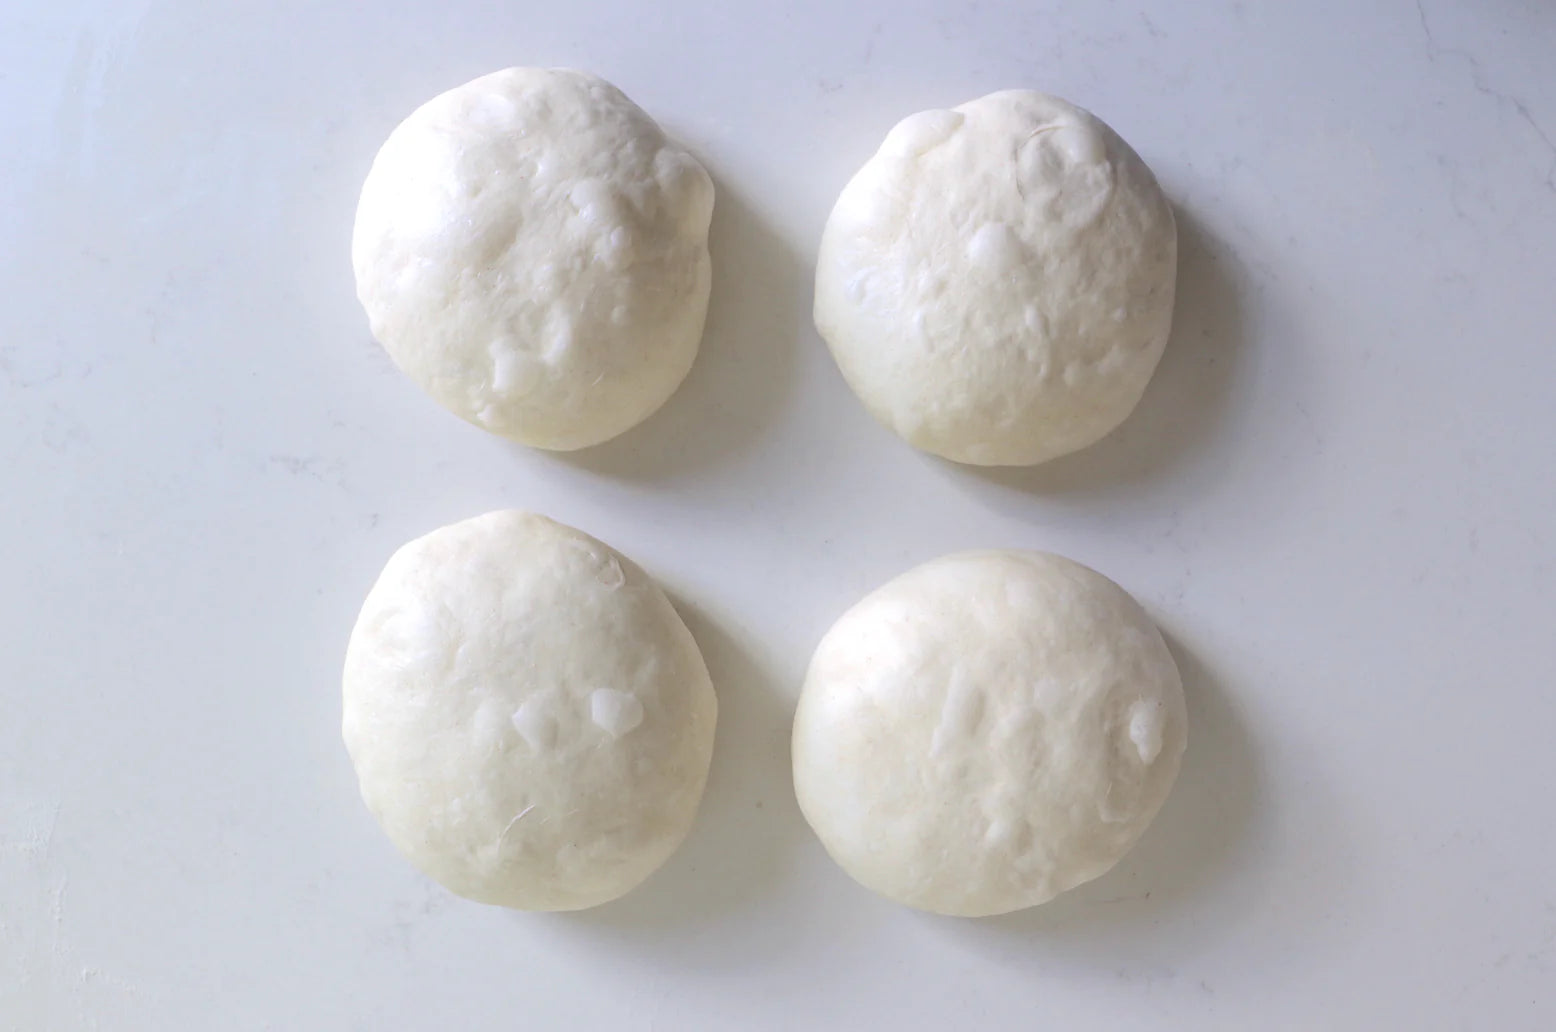
- In a bowl combine 2 cups of all purpose flour, 1 teaspoons of instant yeast, 1 teaspoon of salt, and 1 cup of water until a nice dough forms. Let it rest for 5 minutes and then hand knead for about 2-3 minutes. Let it rise for about 1 hour or until it has doubled in size.
- In the mean time, combine 2 cloves of fresh chopped garlic, 1 teaspoon of powder garlic, and 3 tablespoon of garlic confit oil in a large bowl. Feel free to smash up some confit garlic into this mix too!
- Once the dough has doubled in size, dump it out onto a floured surface and cut it into 7-9 pieces. Take one piece and stretch it into long strand about 5-6 inches long and then tie it into a knot and tuck the ends underneath it. Place it down onto a parchment lined baking tray and repeat with the rest of your dough. Let rise for 30 minutes or until nice and poofy.
- Preheat the oven to 400 degrees and brush 1 tablespoon of garlic confit oil over top of the knots. Bake the garlic knots for 18 – 20 minutes or until they are golden brown. Once they are done drop them straight into your garlic mix you made earlier. Toss to combine and sprinkle on some cheese and parsley!
Super Simple Garlic Pasta

Remember how I said that one of the best parts of garlic confit is that it is ready to go now. Well, this dish thrives off of that fact. The key to making this properly is to not burn the garlic and once its done, toss everything together and serve! It’ll be done in 10 minutes and it’s best eaten immediately otherwise the fresh garlic flavor will just absorb into the pasta and it won’t be as strong.

Ingredients:
- 6 oz. of the pasta of your choice
- 3 Tbsp. of Garlic confit oil
- 2 cloves of garlic, sliced
- Freshly cracked black pepper
- Freshly chopped parsley
- Aleppo pepper, optional
Instructions:
- In a large pot, bring salted water up to a rapid boil & add in your pasta. Cook according to the package.
- In a large pan, set the flame to a low and drop garlic confit oil and freshly sliced garlic.Let this cook on low for 5 minutes or until the garlic is nice and toasted. NOT BURNT!
- Next, drop in your cooked pasta and mix quickly to combine and top with freshly cracked black pepper, chopped parsley and some aleppo pepper.! Take it off the heat and enjoy immediately!! Feel free to drizzle some more garlic oil over top and some farm!
Warning: You will probably taste and smell like garlic for a couple of days!
TOP ARTICLES

Sourdough Baking School
Master the art of sourdough bread baking in the most comprehensive baking class on the internet. This class features over three hours of baking content to help you start your sourdough journey.
See More

