Vietnamese Coffee Blackout Brownies
By Alex Chung
Senior Food Writer at Pro Home Cooks
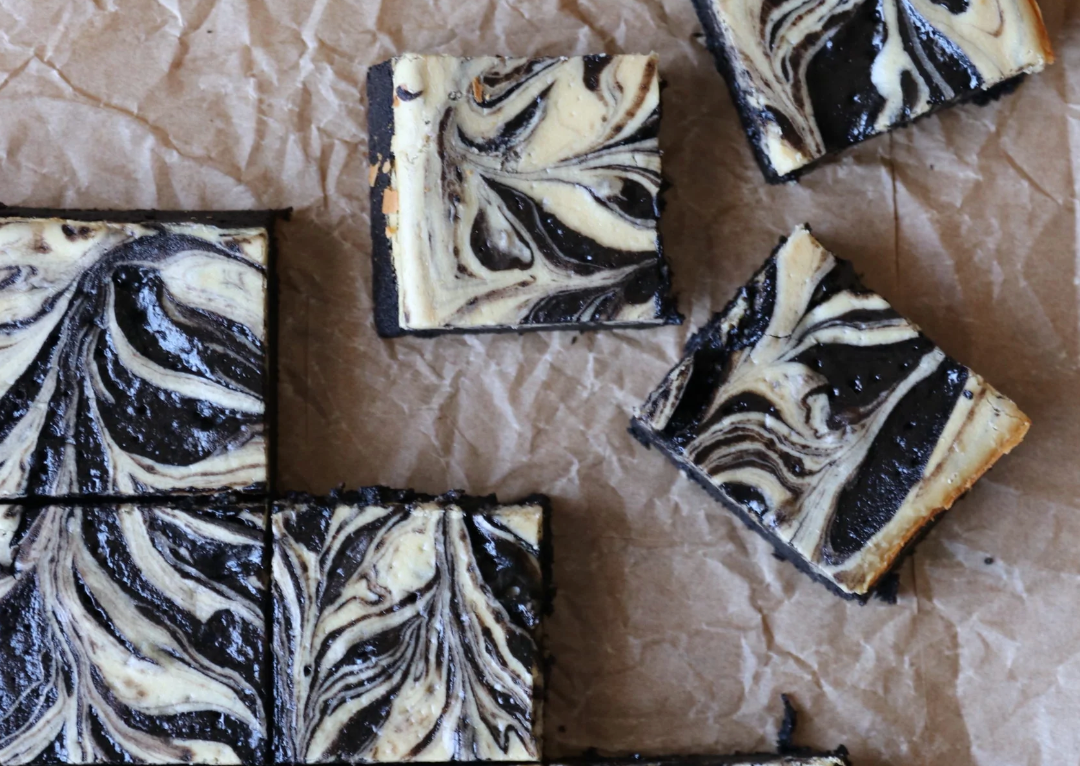
I'm going to be straight up with you… my morning drink of choice is hot water. I have never nor will i ever crave a cup of coffee. Funny thing is when it comes to chocolate baked goods, coffee is the one thing I never forget to add. The coffee complements the chocolate undertones, giving the overall baked good a well rounded flavor profile. To be quite honest, I wanted to do right by all the vietnamese coffee lovers around the world but I was a little hesitant on having such a strong coffee flavor in these brownies but WOW does it work. The brownie is beautifully black, moist, and contrary to the photo, has more of a light/milk chocolate flavor. The real kicker, that balances out all the coffee and chocolate flavor is the beautiful swirl of condensed milk poured right over top. It's sweet, creamy, milky, and it totally complements these Vietnamese coffee blackout brownies.

In order to do right by coffee lovers everywhere I had to do my due diligence and study up on how to make a simple cup of Vietnamese coffee and to be honest, it’s quite special. It's made from a robusta bean (a lower quality bean) that gets roasted nice and dark to remove more of the acidic and unpleasant flavors while enhancing the bold bitterness of the bean. While roasting, other flavors like chocolate, butter, or hickory will be added to help the flavor. Lastly, the beans get grounded up but are kept to be quite coarse. The coarseness of the grind and the brewing method creates a cup of coffee that is stronger, richer, and thicker.
Speaking of brewing, the process of making a cup of Vietnamese coffee is more of a break from reality than a mindless morning ritual. Traditionally, you would sit down and place a metal phin filter on top of a cup, the coarse coffee grinds go in to get bloomed with hot water, which makes the beans even larger. Finally hot water is added and in the course of 3 - 7 minutes a hot cup of strong Vietnamese coffee is ready for you to add ice and condensed milk.

Black cocoa powder has been neutralized to the max, the acidity is completely gone as well as some of its chocolate flavor and buttery cocoa fat. However, what you you are left is an intense looking black cocoa powder. It’s actually the cocoa powder that oreos are made of! Super cool, right? Funny thing, I actually don't like the flavor of black cocoa powder but I do love the color it gives off and how well its flavor plays well when mixed with other cocoa powders. So in order to get that beautiful midnight black color as well as a delicious tasting brownie, I mixed black cocoa powder and a dutch processed one. I ordered mine on amazon since my local grocery store didn't have any but if you want you to omit it, you can just use a dutch processed one. The total amount will still be 65g of cocoa powder. If you're like me and don't have a coffee maker or any gadget/gismo that make a nice strong cup of coffee, check out your grocery store for any pour over Vietnamese coffee. I found one from Copper Cow Coffee at my local Whole Foods but you can also check on amazon. If you do have a coffee maker/phin/press but you don't want to buy so much coffee for one recipe, you can use any strong dark roast coffee. Check out the flavor profiles on the packaging, you're looking for chocolate, hickory, or vanilla notes. When you are making the coffee, try to use a french press or drip method to really concentrate the flavors. However, if all else fails and none of those options work for you, go to your local cafe/Starbucks and ask for a drip press coffee using their darkest blend. A small cup will be more than enough. Be sure to grab a can of condensed milk, NOT evaporated milk. Although they are two milk products, they have different flavors, viscosity, and texture. At home, I normally have the longevity brand but really any brand of condensed milk will work.

TOP ARTICLES

Sourdough Baking School
Master the art of sourdough bread baking in the most comprehensive baking class on the internet. This class features over three hours of baking content to help you start your sourdough journey.
See More

