The Ultimate 8 Week Guide to Raising Chicks 🐣→🐓
By Alex C
Senior Food Writer at Pro Home Cooks
I am so excited to bring you this video because I'm giving you a complete guide on how to raise these baby chicks from start to finish so you can get unlimited delicious eggs right from your backyard. I'm taking you along for the entire multi month process, which is something that I found didn't really exist when I was trying to learning how to raise chicks. Instead, I had to piece together a lot of information while making a ton of mistakes along the way.
I was lucky enough to be grandfathered into a chicken coop when I got my Long Island studio but as time went by the hens started getting older and laying less eggs. As I started raising baby chicks of my own to increase the amount of eggs I was getting, I realized that there wasn’t a full guide on how to raise chicks for laying eggs. Through the past couple years of learning what works and what doesn’t I’ve been able to collect all of the information and skills that you need to be successful at raising chickens to produce the best quality eggs possible. I'm taking you along for the entire multi month process from when you pick them up at the nursery at just 5 days old to integrating them into an already established coop at 8 weeks old. We will cover why to even raise chicken for eggs to coop integration in my complete guide on how to raise baby chicks from start to finish so you can get unlimited delicious eggs right from your backyard too!
Section 1: Why Should You Raise Chicks?
The most obvious is that you will be eating the best eggs of your life. They taste cleaner and the yolk tastes creamier than any egg you’ve ever eaten. It’s also so fun to raise chicks and if you have kids they will enjoy the process of watching and caring for a little farm animal. Lastly, and the least expected is the increased feeling of self sufficiency of knowing that you have the skills to take care of an animal that provides food for you and your family. Once you go through the process and learn the skill to care for a farm animal it will stay with you. You will always be able to rely on them despite what’s going on in the food and farm industry.
Section 2: When should you get the chicks?
Just like planting a seed, timing is everything. Seedlings don’t like weather that is too hot or too cold and the same goes for baby chicks. They can’t handle really cold temps or really hot temps, making spring the best time to raise chicks.
Take your last frost date and subtract 5-6 weeks and that is the earliest time you want to start raising your chicks. This is because it will take the chicks 5-6 weeks to grow their feathers. After their feather have grown in, they are now hardy enough to stand the colder temperatures outside.
Section 3: Where do you find chicks?
There are there three main options:
Option 1: If you have a rooster and preexisting chicken then your eggs can be fertilized and you can hatch your own baby chicks.
Option 2: You can order them online from some type of chick hatchery.
Option 3: You can go to your local hatchery or nursery that get a big shipment of chicks in at one time. My local nursery get shipments every two weeks during spring. I just call them up and see what breeds they got in.
Section 4: Picking the right breed of chickens
There are thousands of breeds of chicken and I could not go into depth of chicken breeds. However, I will cover some questions you should think about before buying your first set of chicks.
Question 1: What is the chickens tolerance to weather? Some are better in the cold and others are better in the heat. Pick chickens that will do best in your climate.
Question 2: Different breeds have different temperaments. Some are chill, others are crazy, some can be aggressive. It's good to keep in mind as you pick out your chicks.
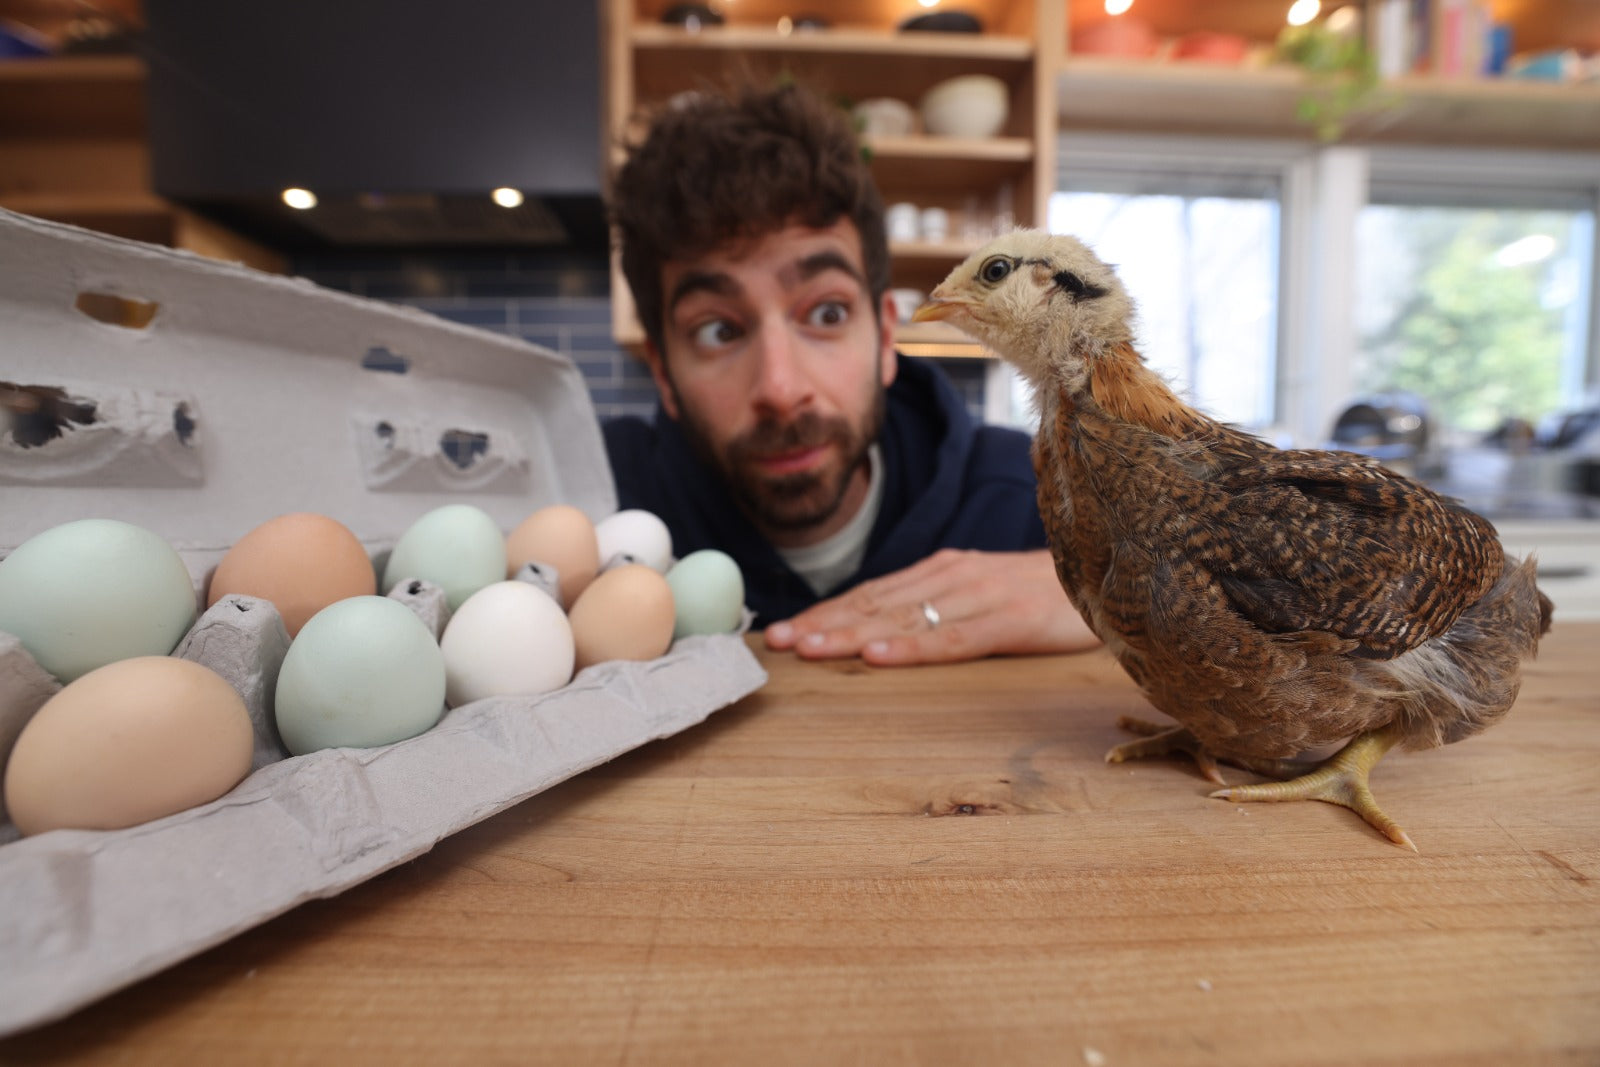
Question 3: They all lay different amounts of eggs and different colors. Depending on how many eggs you want to produce and what color shell you want it is something to consider when getting chicks. I just added in Americana chicks which lay green/blue eggs which allowed me to unlocked my dream of having rainbow eggs!
Section 5: Chick Supplies & Food
There are a lot of different options and routes that you can take but the set up that I have refined over the course of a few years is affordable, efficient, and works perfectly for 4-20 chicks.
1.) Brooder: This is where the chicks will live until they are ready to be put outside. I started with a large plastic container but quickly realized that it won’t be enough space as they continued to grow. In order to accommodate their quick growth spurts I upgraded to a collapsable animal/dog crate. They aren’t expensive but they are sturdy, high quality, and big enough to let the chicks grow in them for 8 weeks. It’ll be the only brooder you need and it will last a very long time.
2.) Bedding: Unlike full grown chicken who sleep on roosting bars at night, chicks will sleep on the floor. Not only that but they will also poop on said floor. In order to make the brooder habitable for the chicken to poop and sleep on the floor, you will need to pick some bedding that is soft but absorbent. Although there are a lot of different kinds of bedding to choose from, my favorite by far are fine wood shavings. It is soft enough that there feet can handle but most importantly, it is very absorbent so you don’t have chicken poop smells wafting through your home.
3.) Heat Source: These chicks have been taken away from their mother and will die quickly without three things: Food, water & heat. Traditional nurseries will use a heat lamp but they are hard to adjust and more dangerous since it is just a hot light bulb in the center of the brooder. My favorite thing to use is an adjustable heat plates with adjustable legs so as they grow you can adjust the height to fit their bodies. Click here to see how I set up the plates.
4.) Watering & Food System: You really want to avoid cross contamination when it comes to the chicks food and water. I love using a chicken peeker which the wood chips and poop out of the water. During the first week of the chicks being born I also like to sprinkle in a pack of electrolytes + vitamin packs just to give them a boost. As for their food I like to use these plastic peeking containers that the chicks can feed from but not walk over. An additional item I made is a raised wire rack to hold the feeder to keep it even cleaner. The wood chips fall through the cracks before ever getting into the food. As for the types of food, there are tons of feed you can feed your chicks. However, the one tip that I recommend is getting chick specific feed because it has nutrient that the chicks will need.
Section 6: Brooder Integration
Now that you have the baby chick and your supplies, it’s time to integrate the chicks. Carefully dump out the chicks into your brooder and let them explore. Typically they will find the food quickly because of the smell. For the water, you will want to show them that they need to peck the nipple of the peeker to get water. Lastly, place the heating plate on top of the chicks so they know that is where they can go to get warm.
As the days go by you want to check on them every day. Change their water and feed them as they diminish their food and water sources. By the 2nd week, you will start to see a lot of poop which means you need to remove the old wood shavings and replace them with new ones. The wood shavings make for good compost so feel free to mix that in with your compost bin.
As they get older, you will need to replace the wood shavings more and more as they get bigger. I like to move everything to the side and use a plastic shovel to scoop all the wood shavings out. I also like to give them a handful of meal worms as a little snack and the last thing you will want to do is close the brooder. As their feathers come in, they will begin to fly so zipping the brooder is the best way to keep them in their home.
Section 7: Coop Integration
Around 40 days old, they should be fully feather and you can begin the coop integration process. This spring was a little colder than usual so in order to integrate the chicks I placed them into the garage where there was a decrease in temperature but they were still safe from predators like hawks and foxes. This is a great way to acclimate them into the outdoors.
When dealing with an existing flock, which is my scenario, you do not want to rush the process of integrating the older girls with the newer girls. I found the best way is to set up an enclosure within the coop so that they can see and smell each other but not fully interact with one another. Make sure the enclosure is closed at the top because they can fly and I made a mini coop for the hens so they had a warm place to sleep at night.
Ill keep them enclosed at in their own mini area for at least a week. After that I’ll open the door slightly so they can come out and integrate with the older girls. Again, do not rush this process. You don’t want the younger girls to receive permanent damage after you cared for them for 8 weeks.
Then once the girls are comfortable, you can remove the mini enclosure you made for them earlier to complete the integration process! There you have it, a 8 week guide on how to on how to raise chicks.
TOP ARTICLES

Sourdough Baking School
Master the art of sourdough bread baking in the most comprehensive baking class on the internet. This class features over three hours of baking content to help you start your sourdough journey.
See More


